Serverless authentication 🔑
Welcome to part two of my serverless api introduction, where we will tackle user login and registration.
Check out the first part if you haven't - it contains all the setup for this article!
Let's start with the former and create api/auth/login.js. Go ahead and also install jsonwebtoken and bcrypt as npm dependencies.
import bcrypt from 'bcrypt'
// api/auth/login.js
import jwt from 'jsonwebtoken'

import User from '../../models/User'
import { connectToDatabase } from '../../utils/db'

/**
 * Login Function
 */
async function login(req, res) {
  await connectToDatabase()
  const { body } = req
  if (!req.body)
    return res.json({ message: `NO BODY!`, body })

  try {
    await checkIfInputIsValid(body)
    const user = await User.findOne({ email: body.email })

    if (!user) {
      return res
        .status(401)
        .json({ error: 'User with that e-mail does not exist.' })
    }

    const token = await comparePassword(body.password, user.password, user._id)

    res.status(200).json({ token, user })
  }
  catch (e) {
    res.status(401).send({ error: e.message })
  }
}

function checkIfInputIsValid(eventBody) {
  if (!(eventBody.password && eventBody.password.length >= 7)) {
    throw new Error(
      'Password error. Password needs to be longer than 8 characters.'
    )
  }

  if (!(eventBody.email && typeof eventBody.email === 'string'))
    throw new Error('Email error. Email must have valid characters.')
}

async function comparePassword(eventPassword, userPassword, userId) {
  const match = await bcrypt.compare(eventPassword, userPassword)

  if (!match)
    throw new Error('The credentials do not match.')

  return signToken(userId)
}

function signToken(id) {
  return jwt.sign({ id }, process.env.JWT_SECRET, {
    expiresIn: 86400 // expires in 24 hours
  })
}

export default login
Pretty straight forward, right? We check the request body to make sure the person trying to log in has actually provided credentials. We then use our Model from the first part to see, if there is a user with that email in our database. If that is the case, our API will return a signed token alongside the user object within the response.
CORS detour
something we have completely neglected are CORS issues.
To put it simply, let's imagine we are going to have our API "serving endpoints" from some domain like serverless-api.com. But our client-application is running on client-for-api.com - now if these two domains could just share resources (information) as they pleased, we would have huge security flaws!
This is pretty much why Cross Origin Resource Sharing (CORS) exist - so that developers can specify which "origins" should be able to have access.
I would still recommend checking out the MDN article on the topic, if you want to delve deep.
Configuration and Middlewares
Create a verecel.json file in the root of your project
// vercel.json
{
  "headers": [
    {
      "source": "/api/(.*)",
      "headers": [
        { "key": "Access-Control-Allow-Credentials", "value": "true" },
        {
          "key": "Access-Control-Allow-Methods",
          "value": "GET,OPTIONS,PATCH,DELETE,POST,PUT"
        },
        {
          "key": "Access-Control-Allow-Headers",
          "value": "X-CSRF-Token, X-Requested-With, Accept, Accept-Version, Content-Length, Content-MD5, Content-Type, Date, X-Api-Version"
        }
      ]
    }
  ]
}
If you have done something similar before, you might have noticed we are missing (maybe the most important) header - access-control-allow-origin - it's one of my favorites, because of how much time it has cost me historically 😅
You can go ahead and set this header to "*" inside your vercel config file, but I like to set it explicitly with the requests origin. So let's create two files, middleware/basic and middleware/auth.
// middleware/basic
function basicMiddleware(fn) {
  return async (req, res) => {
    res.setHeader('Access-Control-Allow-Origin', req.headers.origin)

    if (req.method === 'OPTIONS') {
      // for preflight OPTION requests
      return res.status(200).end()
    }

    return await fn(req, res)
  }
}

export default basicMiddleware
Now we can modify our login.js file to use our new middlware
// api/auth/login.js
// ...
import basicMiddleware from '../../middleware/basic'
// ...
export default basicMiddleware(login)
For authenticated requests, we will wrap the relevant routes inside our auth-middleware:
// middleware/auth
function authMiddleware(fn) {
  return async (req, res) => {
    res.setHeader('Access-Control-Allow-Origin', req.headers.origin || '*')

    if (req.method === 'OPTIONS')
      return res.status(200).end()

    if (!isAuthenticated(req))
      res.status(401).send({ message: 'Not Authenticated!' })

    return await fn(req, res)
  }
}

function isAuthenticated(req) {
  if (
    !req.headers.authorization
    || !req.headers.authorization.includes('Bearer ')
  ) {
    return false
  }

  return true
}

export default authMiddleware
Modify api/users/index.js to use our new auth-middleware.
Registration
The part we have all been waiting for - user creation! You will need to create api/auth/register:
// api/auth/register
async function register(req, res) {
  await connectToDatabase()

  // Check for empty body
  const { body } = req

  try {
    await checkIfInputIsValid(body)

    // Check if an e-mail is already taken
    const existingUser = await User.findOne({ email: body.email })
    if (existingUser)
      return res.status(303).json({ message: 'User exists already!' })

    // Create a new user with a hashed password
    const hashedPass = await bcrypt.hash(body.password, 8)
    const newUser = await User.create({
      username: body.username,
      email: body.email,
      password: hashedPass
    })

    const token = signToken(newUser.id)
    // Send back user + token (optional - you may want to have a "double opt-in" flow)
    return res.status(200).json({ user: newUser, token })
  }
  catch (e) {
    return res.status(401).json({ message: e.message })
  }
}
I ommitted some stuff for clarity, but you can checkout the full version here.
It starts off very similar to our login function, by checking the request body for valid input. We make sure the same e-mail hasn't been registered to another user and create a new one with a hashed password.
Never store plain user passwords in your database!
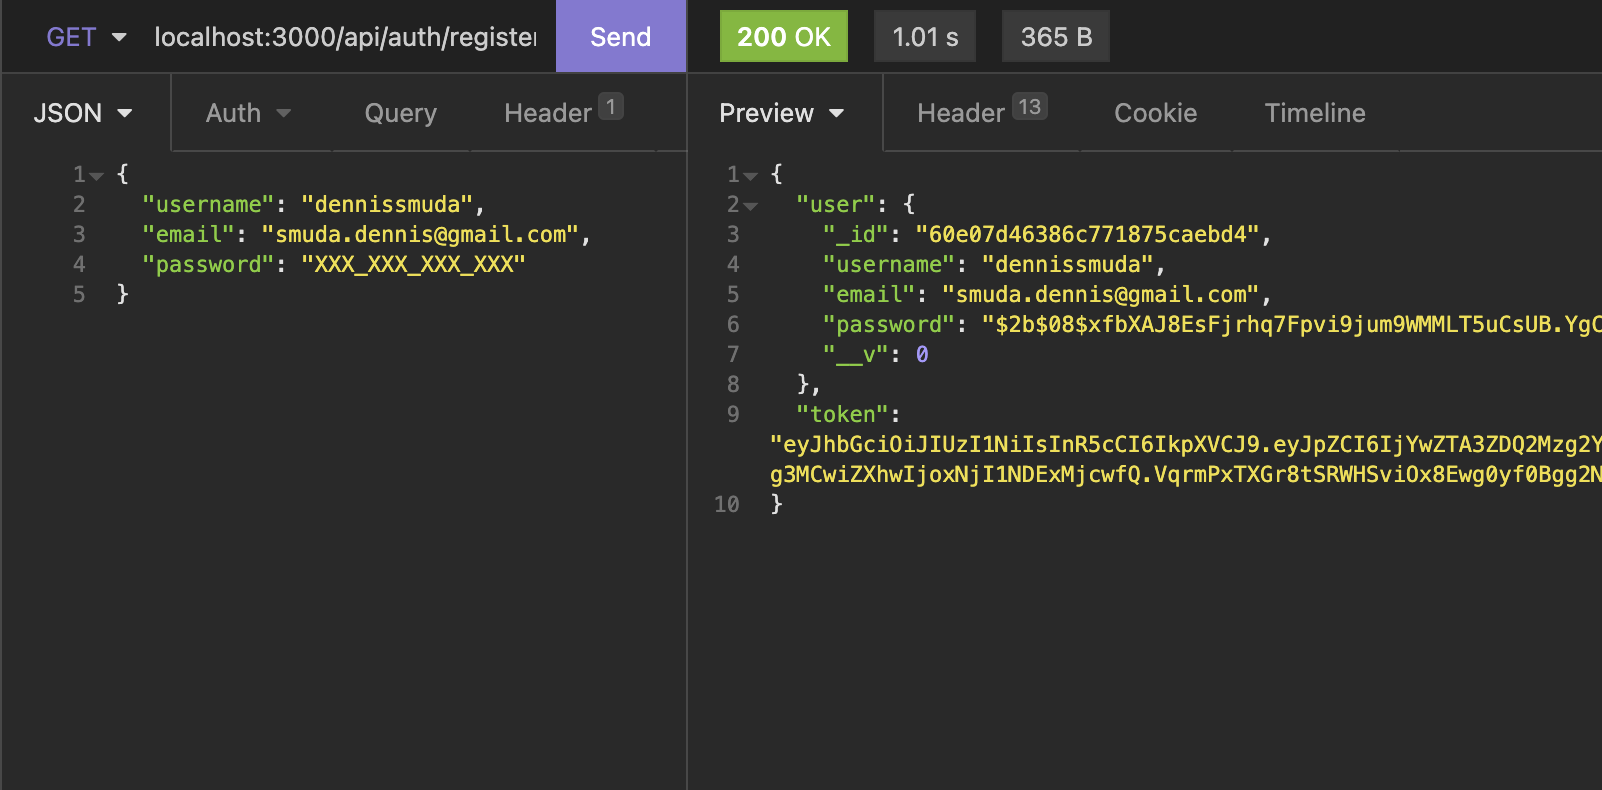
If you have a API testing tool (like insomnia) you can now try to register your first user!
If you want to test protected routes you will have to take the token you get from logging in, and put it inside the authorization header inside for your next requests - if you still want to use curl, you can also do that:
curl -H "Authorization: Bearer <ACCESS_TOKEN>" -X GET http://localhost:3000/api/users
That's it!
We now have a full working node.js serverless API! If you want to check out the code in full, because I missed something or you want to give me a star, go to the repository.
If you are wondering (like me) if you could build a "whole application" with a serverless API, the answer is yes, and yes I did exactly that. I built a small backing-track/jam-along app which is basically an extended version of this tutorials API. It has some relationships within the models and a couple of aggregation functions. You can check it out here.