Intro to serverless APIs 🍪
We will be using Vercel and MongoDB - cloud software which is fast and free, but requires you to create some accounts and do stuff via their ui.
In this Post I will show you, how to get started with API development using Vercel and node.js. I recommend you head over there and create an account, because we will have to connect our git repo to vercel, so it can deploy your API whenever you push changes!
Create a new project
In order for any of this to work, you need to have git and node.js installed on your machine. If you do and have been doing web dev for some time, these steps should look very familiar to you:
mkdir my-api
cd my-api
npm init -y
mkdir api
By default, everything inside the api-directory will get picked up as an actual API-route. So,let's start by creating the file api/users/index.js. Inside our API this file will represent the /users-endpoint.
// api/users/index.js

const users = [{ name: 'Jane Doe' }, { name: 'Max Poe' }] // hardcoded users for now

async function getUsers(req, res) {
  res.json({ users })
}

export default getUsers
We now have our first restful API route with minimal code! To test things out all you need to do now is start the Vercel development environment:
# follow the instructions and link your project
npx vercel dev
Vercel will ask you to link accounts/projects. It's pretty straightforward and you should be up and running in a couple of minutes.
By default your app will get served to localhost:3000. By sending a request to /api/users we should be able to see our two users within the response.
curl -X GET http://localhost:3000/api/users
I recommend using a tool like insomnia to develop your API locally. It has a lot of useful features and is of course free.
Database setup
Let's create our database now! Head over to mongodb.com, create a new cluster and stay within the free tier.
Inside the UI of your cluster, under collections you can create a new database. Afterwards, you can find the connect button and connect your application.
# look for a collection string that looks like this:
mongodb+srv://<DB_USER>:<PASSWORD>@cluster0.m1wek.mongodb.net/<DB_NAME>?retryWrites=true&w=majority
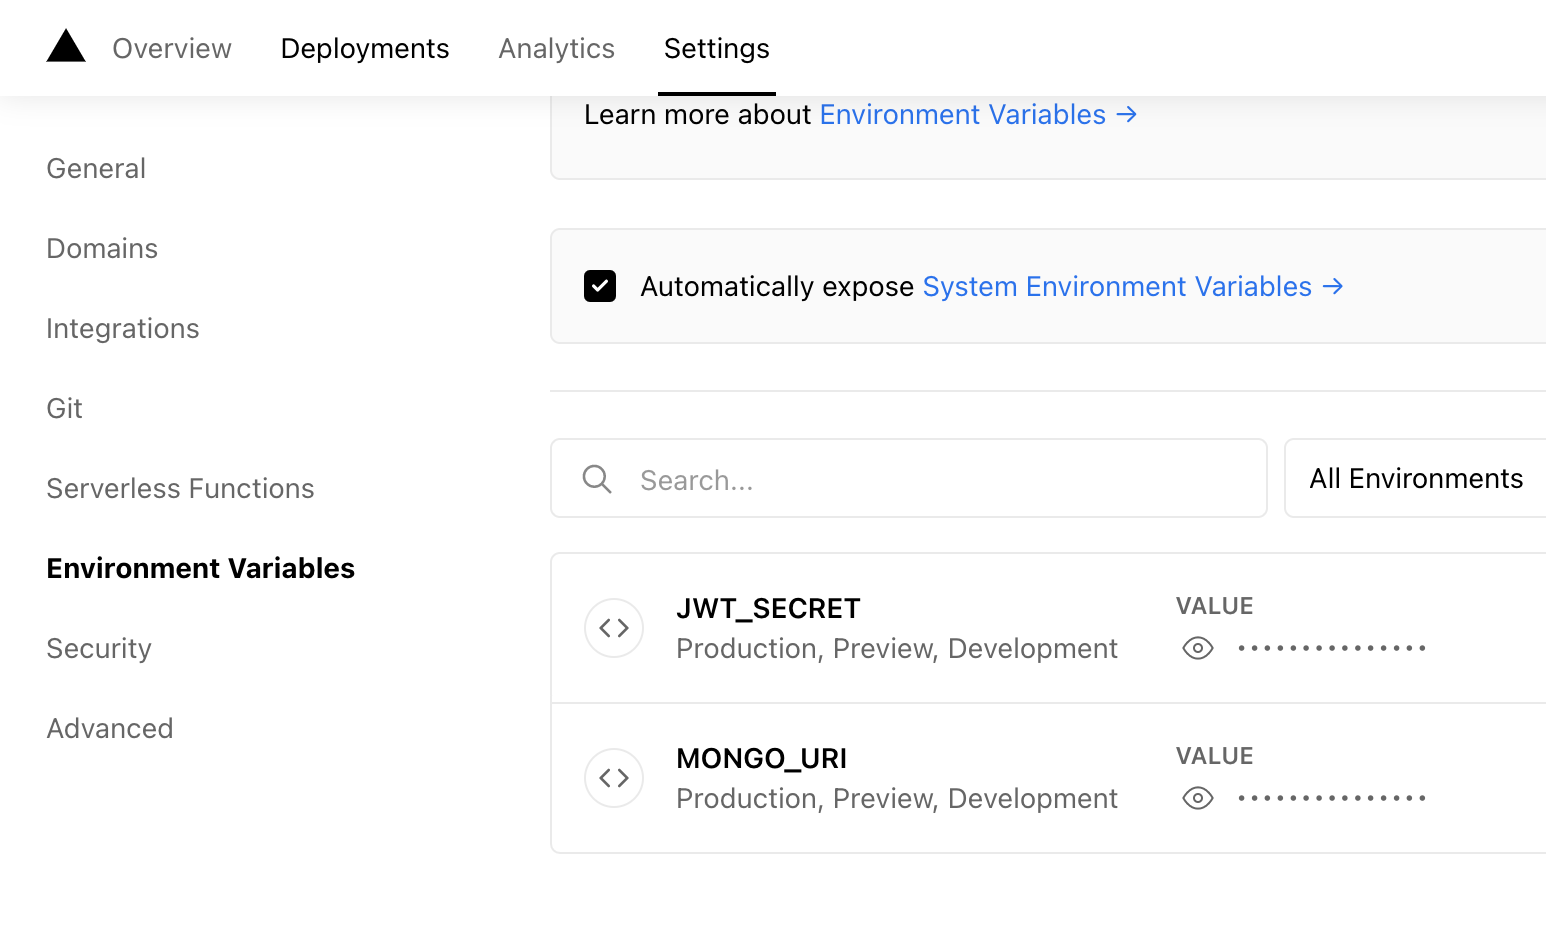
Now head over to Vercel you will need to create some environment variables, which you can find within your project under the settings tab.

For the JWT_SECRET you can go ahead and just generate some random password (github issue if you want to know why).
Mongoose Models
In our repo, need need to install some packages and create some more files and folders to prepare for our real users.
npm i --save mongodb mongoose
npm i --save-dev @types/mongoose

mkdir models && mdkir utils
touch models/User.js
touch utils/db.js
Inside our models/User.js we will now create our Models, which are "fancy constructors compiled from Schema definitions" - to quote them directly.
// models/User.js
import { model, Schema } from 'mongoose'

const User = model(
  'User',
  new Schema({
    username: String,
    email: String,
    password: String
  })
)

export default User
Next, we will modify our utils/db.js like so:
// utils/db.js
import mongoose from 'mongoose'

let isConnected

function connectToDatabase() {
  if (isConnected)
    return Promise.resolve()

  return mongoose
    .connect(process.env.MONGO_URI, {
      useNewUrlParser: true,
      useUnifiedTopology: true
    })
    .then((db) => {
      isConnected = db.connections[0].readyState
    })
}

export { connectToDatabase }
This is pretty much all you need to start talking to your database inside your endpoint. We can now get real users by connnecting to our database and basically using our User model to query it:
import User from '../../models/User'
// api/users/index.js
import { connectToDatabase } from '../../utils/db'

async function getUsers(req, res) {
  await connectToDatabase()
  const users = await User.find()

  res.json({ users })
}

export default authMiddleware(getUsers)
There you go! If everything went right, you can try out our curl from earlier and you will probably get an empty response, but that's okay because we have no users stored inside our database yet!
If you really want, you can create some users by hand inside your clusters web ui, but I don't recommend doing that. Instead, we should rather create new users whenever a user registers a new account within your application.
In the next blog post we will handle the authentication part of our API, which will include login/register routes and some middlewares to handle access control.
Check out the next part
FYI
If you want to see the end result we are going to build check out the repo.